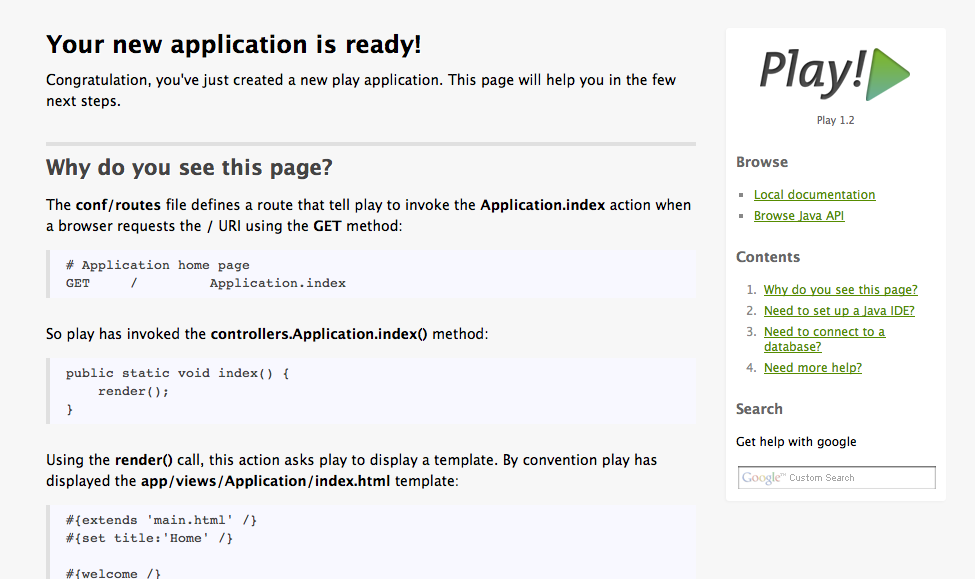
Creación de un nuevo proyecto
Creación de un nuevo proyecto
Para crear el nuevo proyecto
> play new twitter
~ _ _
~ _ | | _ _ | |
~ | ‘ | |/ ’ | || ||
~ | /||_|_ ()
~ |_| |__/
~
~ play! 1.2.2, http://www.playframework.org
~
~ The new application will be created in /Volumes/Datos/Desarrollo/proyectos/play/play-curso/gh-pages/twitter
~ What is the application name? [twitter]
[ENTER]
Para arrancar el servidor de aplicaciones con la nueva aplicación creada
> cd twitter
> play run
Entramos en http://localhost:9000/ y ya podemos acceder a la nueva aplicación creada.

Estructura del proyecto creado
.
├── app
│   ├── controllers
│   │   └── Application.java
│   ├── models
│   └── views
│       ├── Application
│       │   └── index.html
│       ├── errors
│       │   ├── 404.html
│       │   └── 500.html
│       └── main.html
├── conf
│   ├── application.conf
│   ├── dependencies.yml
│   ├── messages
│   └── routes
├── lib
├── public
│   ├── images
│   │   └── favicon.png
│   ├── javascripts
│   │   └── jquery-1.5.2.min.js
│   └── stylesheets
│       └── main.css
└── test
    ├── Application.test.html
    ├── ApplicationTest.java
    ├── BasicTest.java
    └── data.yml
Configuración en Eclipse
Play viene preparado para integrarse con varios IDEs http://www.playframework.org/documentation/1.2.3/ide
En el curso vamos a utilizar Eclipse. Comando para generar los archivos de configuración de Eclipse
play eclipsify
Para importar el proyecto desde Eclipse
File/Import/General/Existing project
¿Cómo Depurar?
eclipse/twitter.launch -> Botón derecho/Run As/Twitter
eclipse/Connect JPDA to twitter.launch -> Botón derecho/Debug As/Connect JPDA to twitter
Pruébalo colocando un breakpoint y revisa en la pestaña debug de Eclipse.